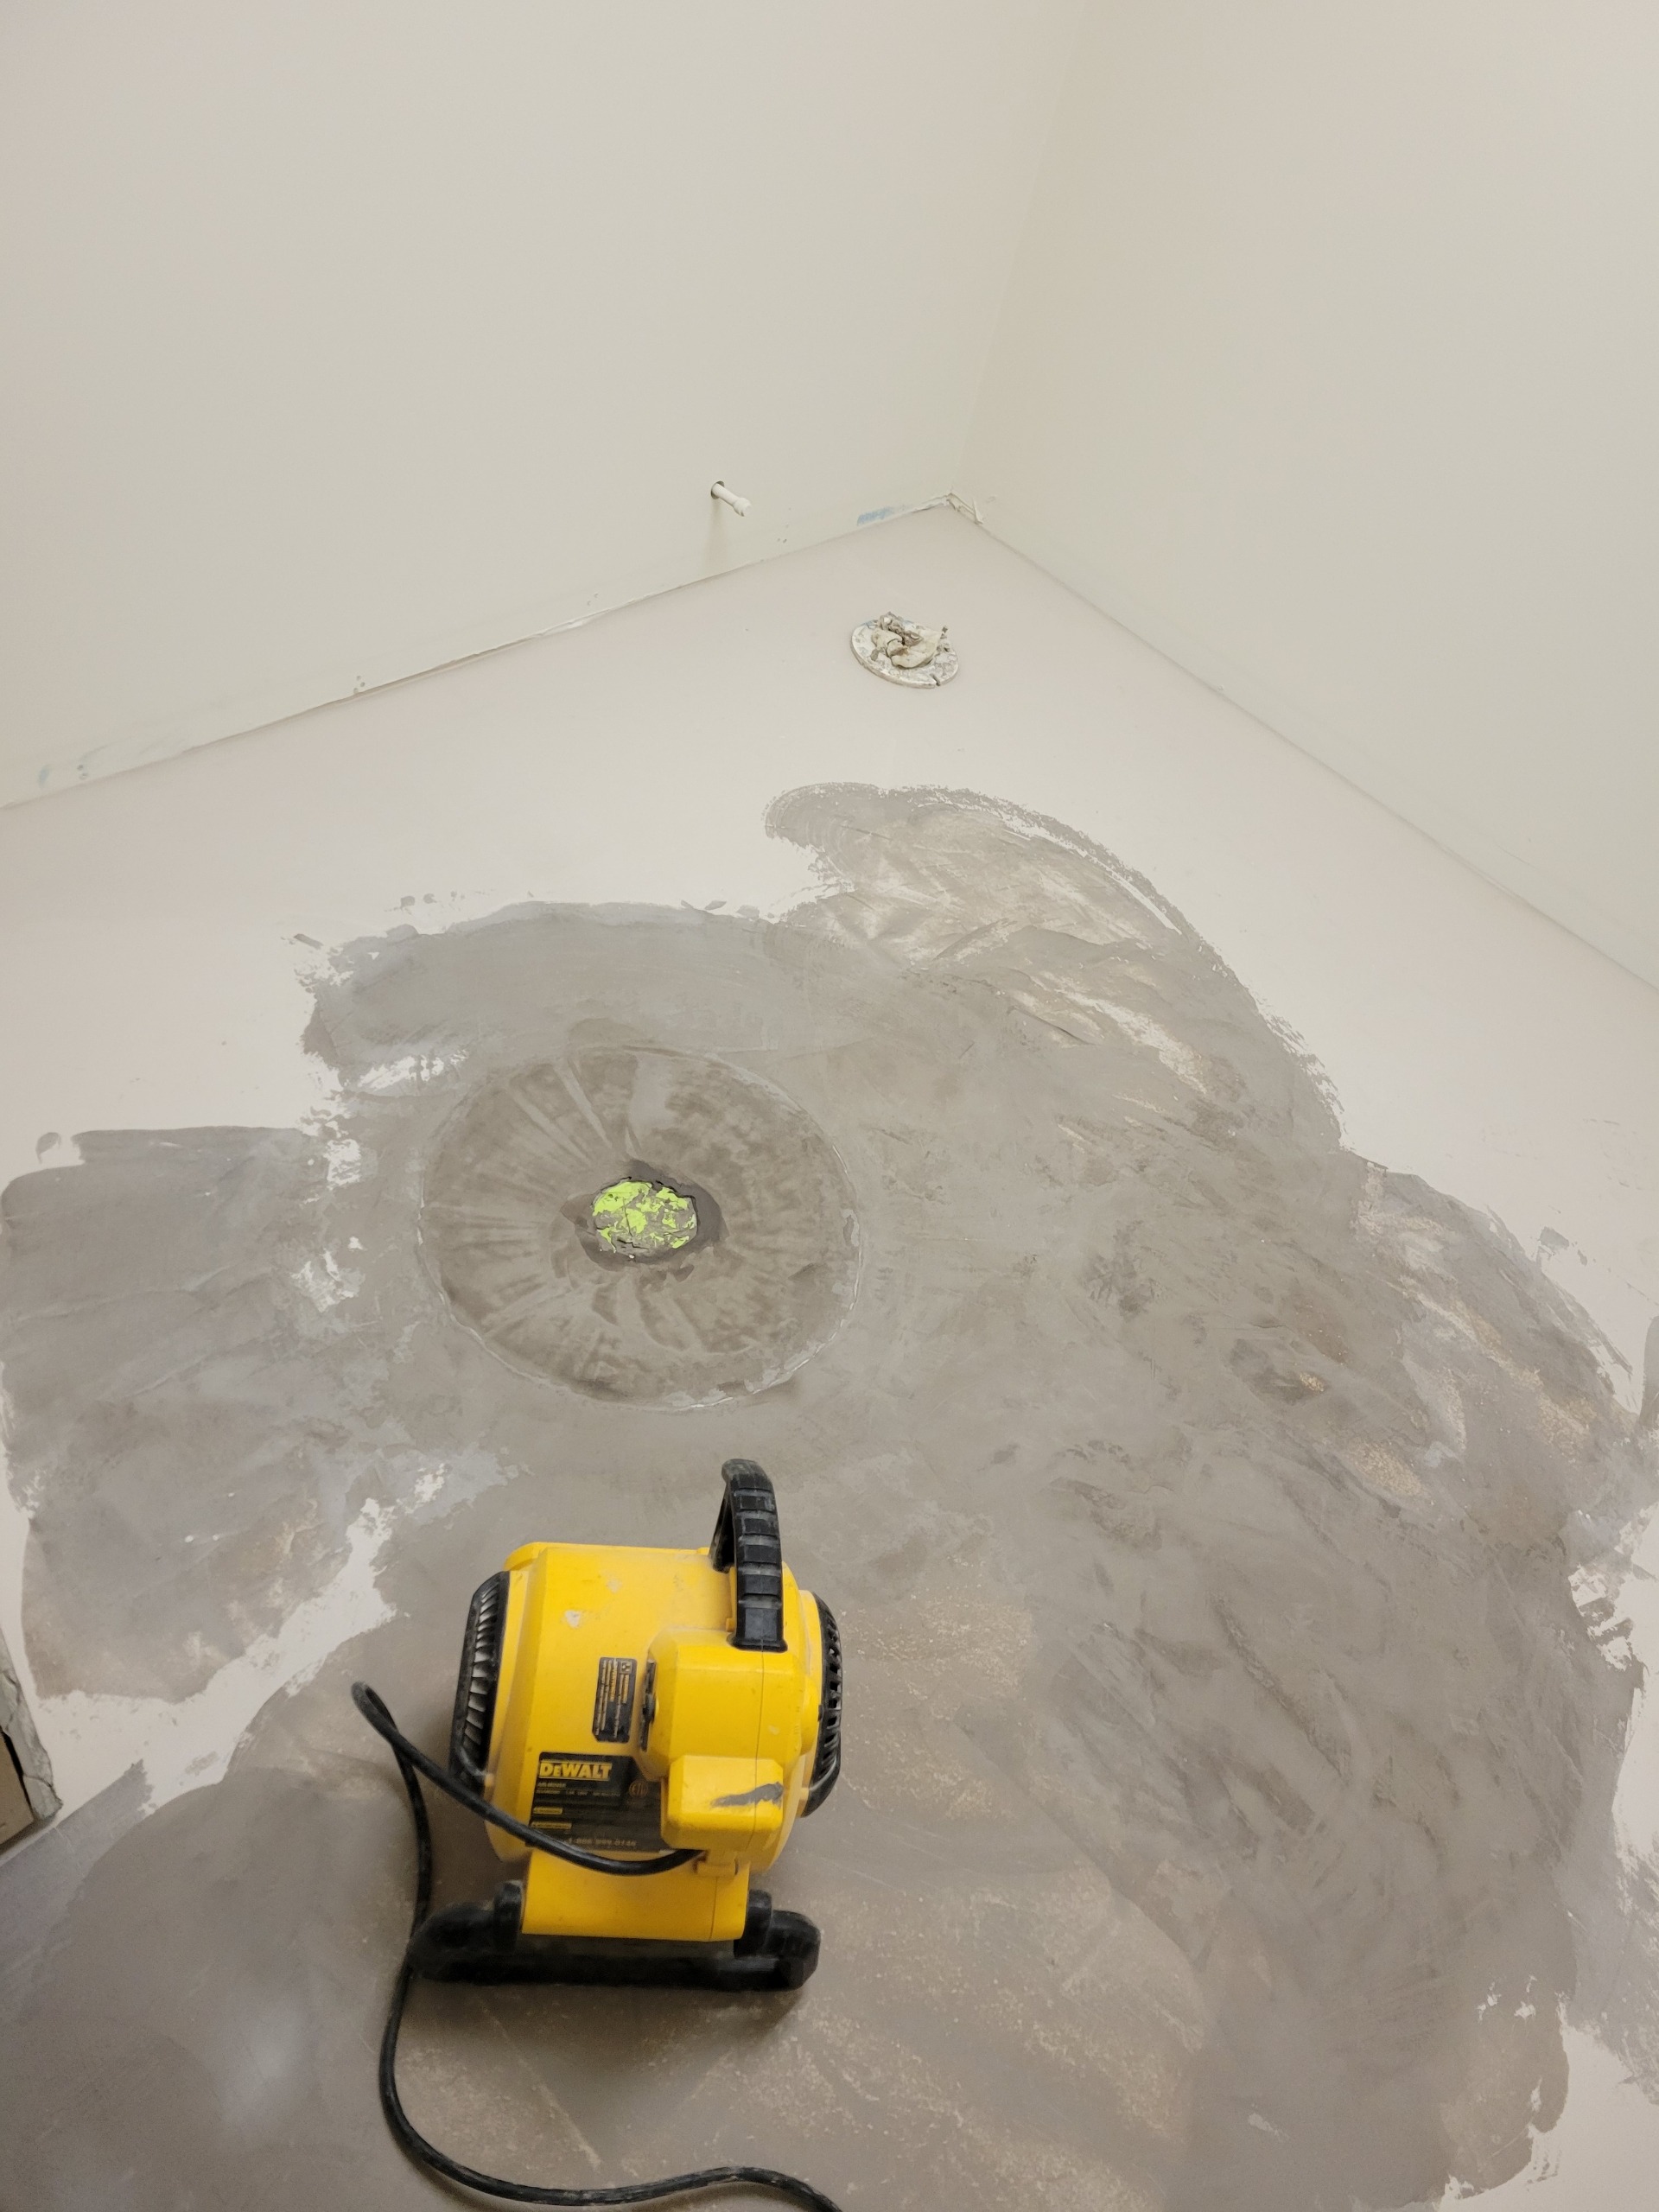
Before & After: Transforming an Office Space with Proper Floor Prep
We invest time in floor preparation—it’s the first step toward a successful transformation.
Before and After: Transforming an Office Space with Proper Floor Prep
Introduction
When it comes to renovating office spaces, flooring plays a crucial role in both aesthetics and functionality. In this blog post, we’ll explore the transformation of a new construction office area into a vibrant, professional environment. We’ll focus on two popular flooring options: commercial carpet and luxury vinyl plank (LVP). But before we unveil the stunning “after” photos, let’s discuss why proper floor preparation is essential.
Why Floor Prep Matters
Floor prep is the foundation of any successful flooring installation. It ensures that your new flooring will look great, lay flat, stay bonded, and withstand heavy foot traffic. Here’s why it matters:
- Smooth Surface: Properly prepped floors provide a level, smooth surface for installation. Any imperfections or irregularities can lead to problems down the line.
- Adhesion and Durability: Whether you choose commercial carpet or LVP, proper floor prep ensures better adhesion. Adhesive bonds securely to a clean, well-prepared surface, enhancing durability.
- Moisture Protection: Moisture can wreak havoc on flooring materials. Floor prep includes moisture barriers and leveling compounds to prevent issues like warping or mold growth.
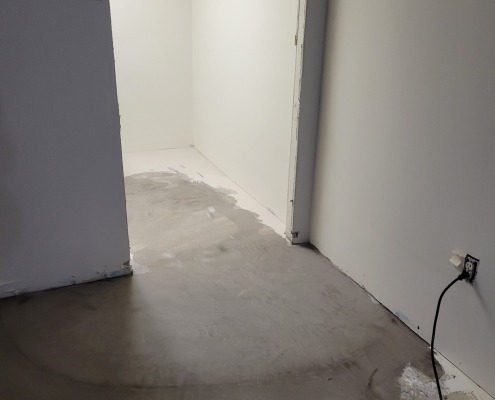
Commercial Carpet: The “Before”
Our office space started as a blank slate. With the assistance of H2H designers a beautiful plan started to take shape. Now how did we get to the amazing final result? Proper floor prep, of course.
Floor Prep Steps for Carpet Installation
- Removal: The office needed a quick clean before prep started – a clean surface ensures a smooth surface.
- Subfloor Inspection: We assessed the subfloor for any damage, unevenness, or moisture issues.
- Leveling: Uneven areas were leveled using self-leveling compounds.
- Moisture Barrier: A moisture barrier was applied to prevent moisture seepage from below.
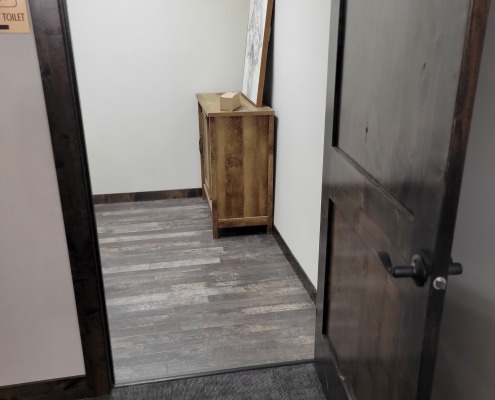
Luxury Vinyl Plank (LVP): The “After”
Now, let’s fast-forward to the exciting part—the transformation! We chose LVP for its durability, versatility, and realistic wood textures. Here’s what changed:
- Stunning Aesthetics: The LVP mimicked the look of hardwood, instantly elevating the office’s appearance. Employees loved the warm, inviting feel.
- Easy Maintenance: LVP requires minimal upkeep—just regular sweeping and occasional damp mopping.
- Quiet and Comfortable: Unlike hard concrete or tile, LVP absorbs sound, creating a quieter workspace.
Floor Prep Steps for LVP Installation
- Subfloor Inspection: We ensured the subfloor was clean, dry, and level.
- Underlayment Installation: A quality underlayment provided extra cushioning and noise reduction.
- Precise Layout: We planned the LVP layout meticulously, considering traffic patterns and aesthetics.
- Seamless Installation: The LVP planks clicked together seamlessly, creating a cohesive look.
The Superior Result
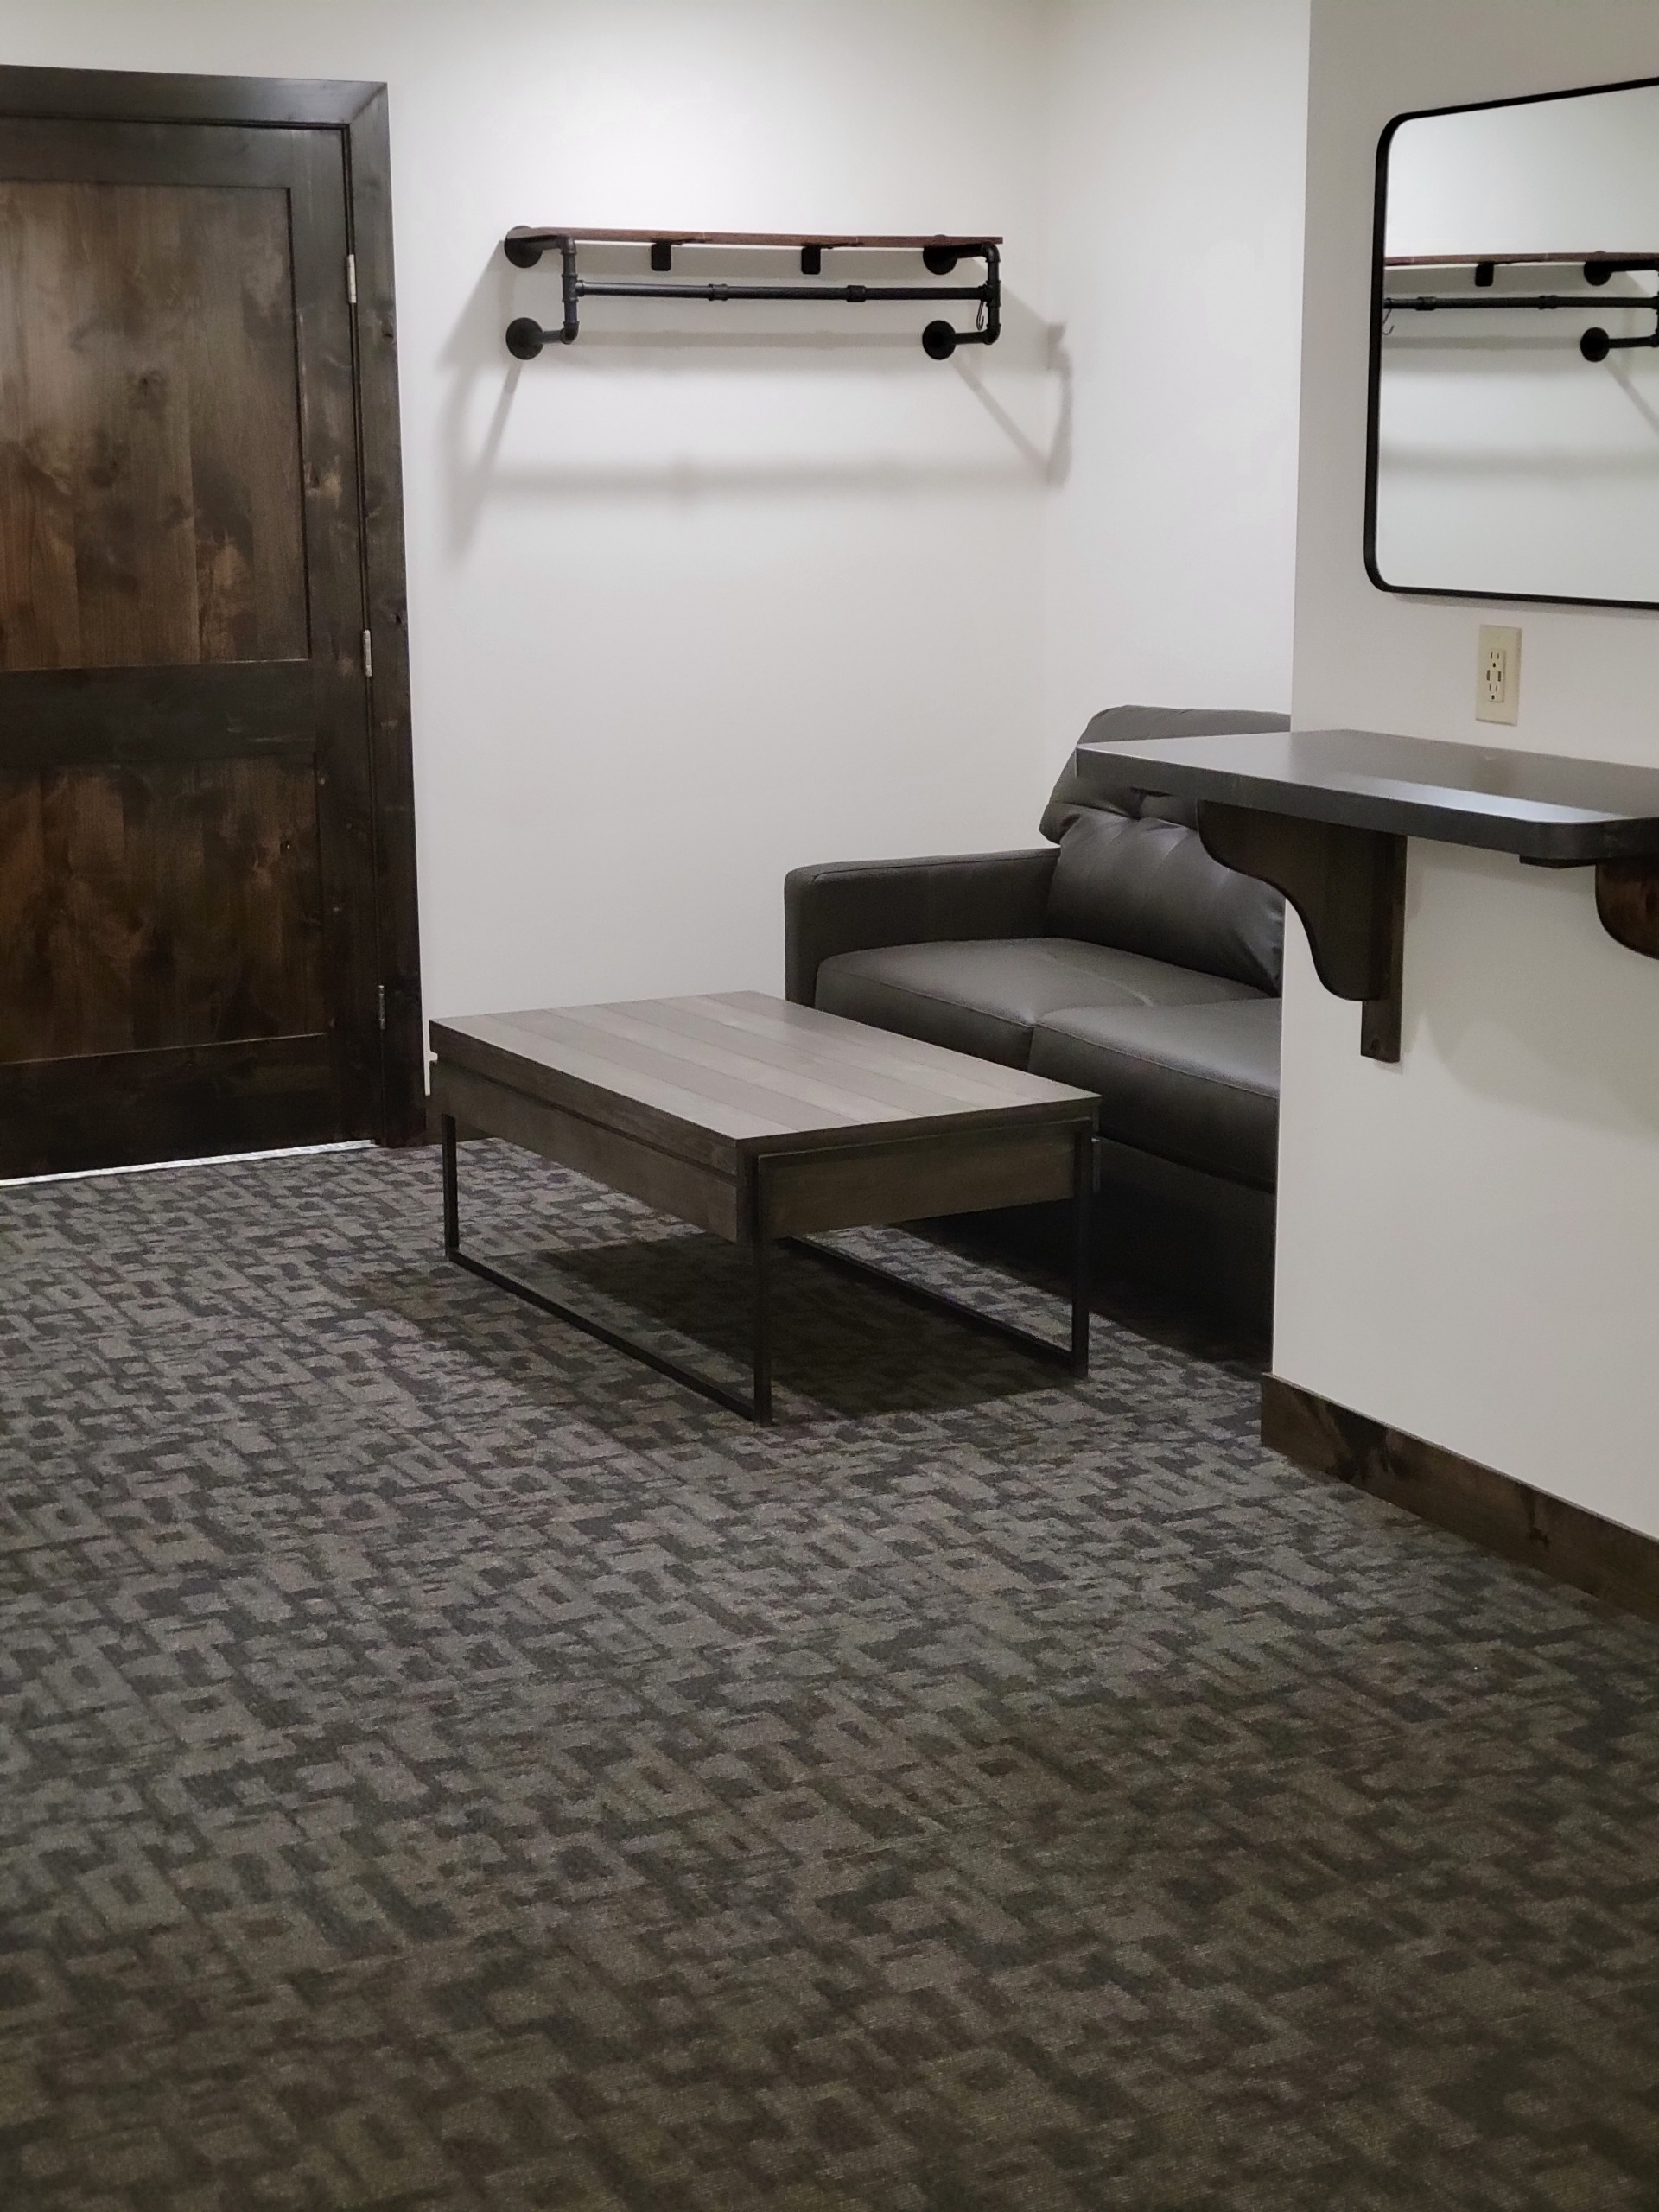
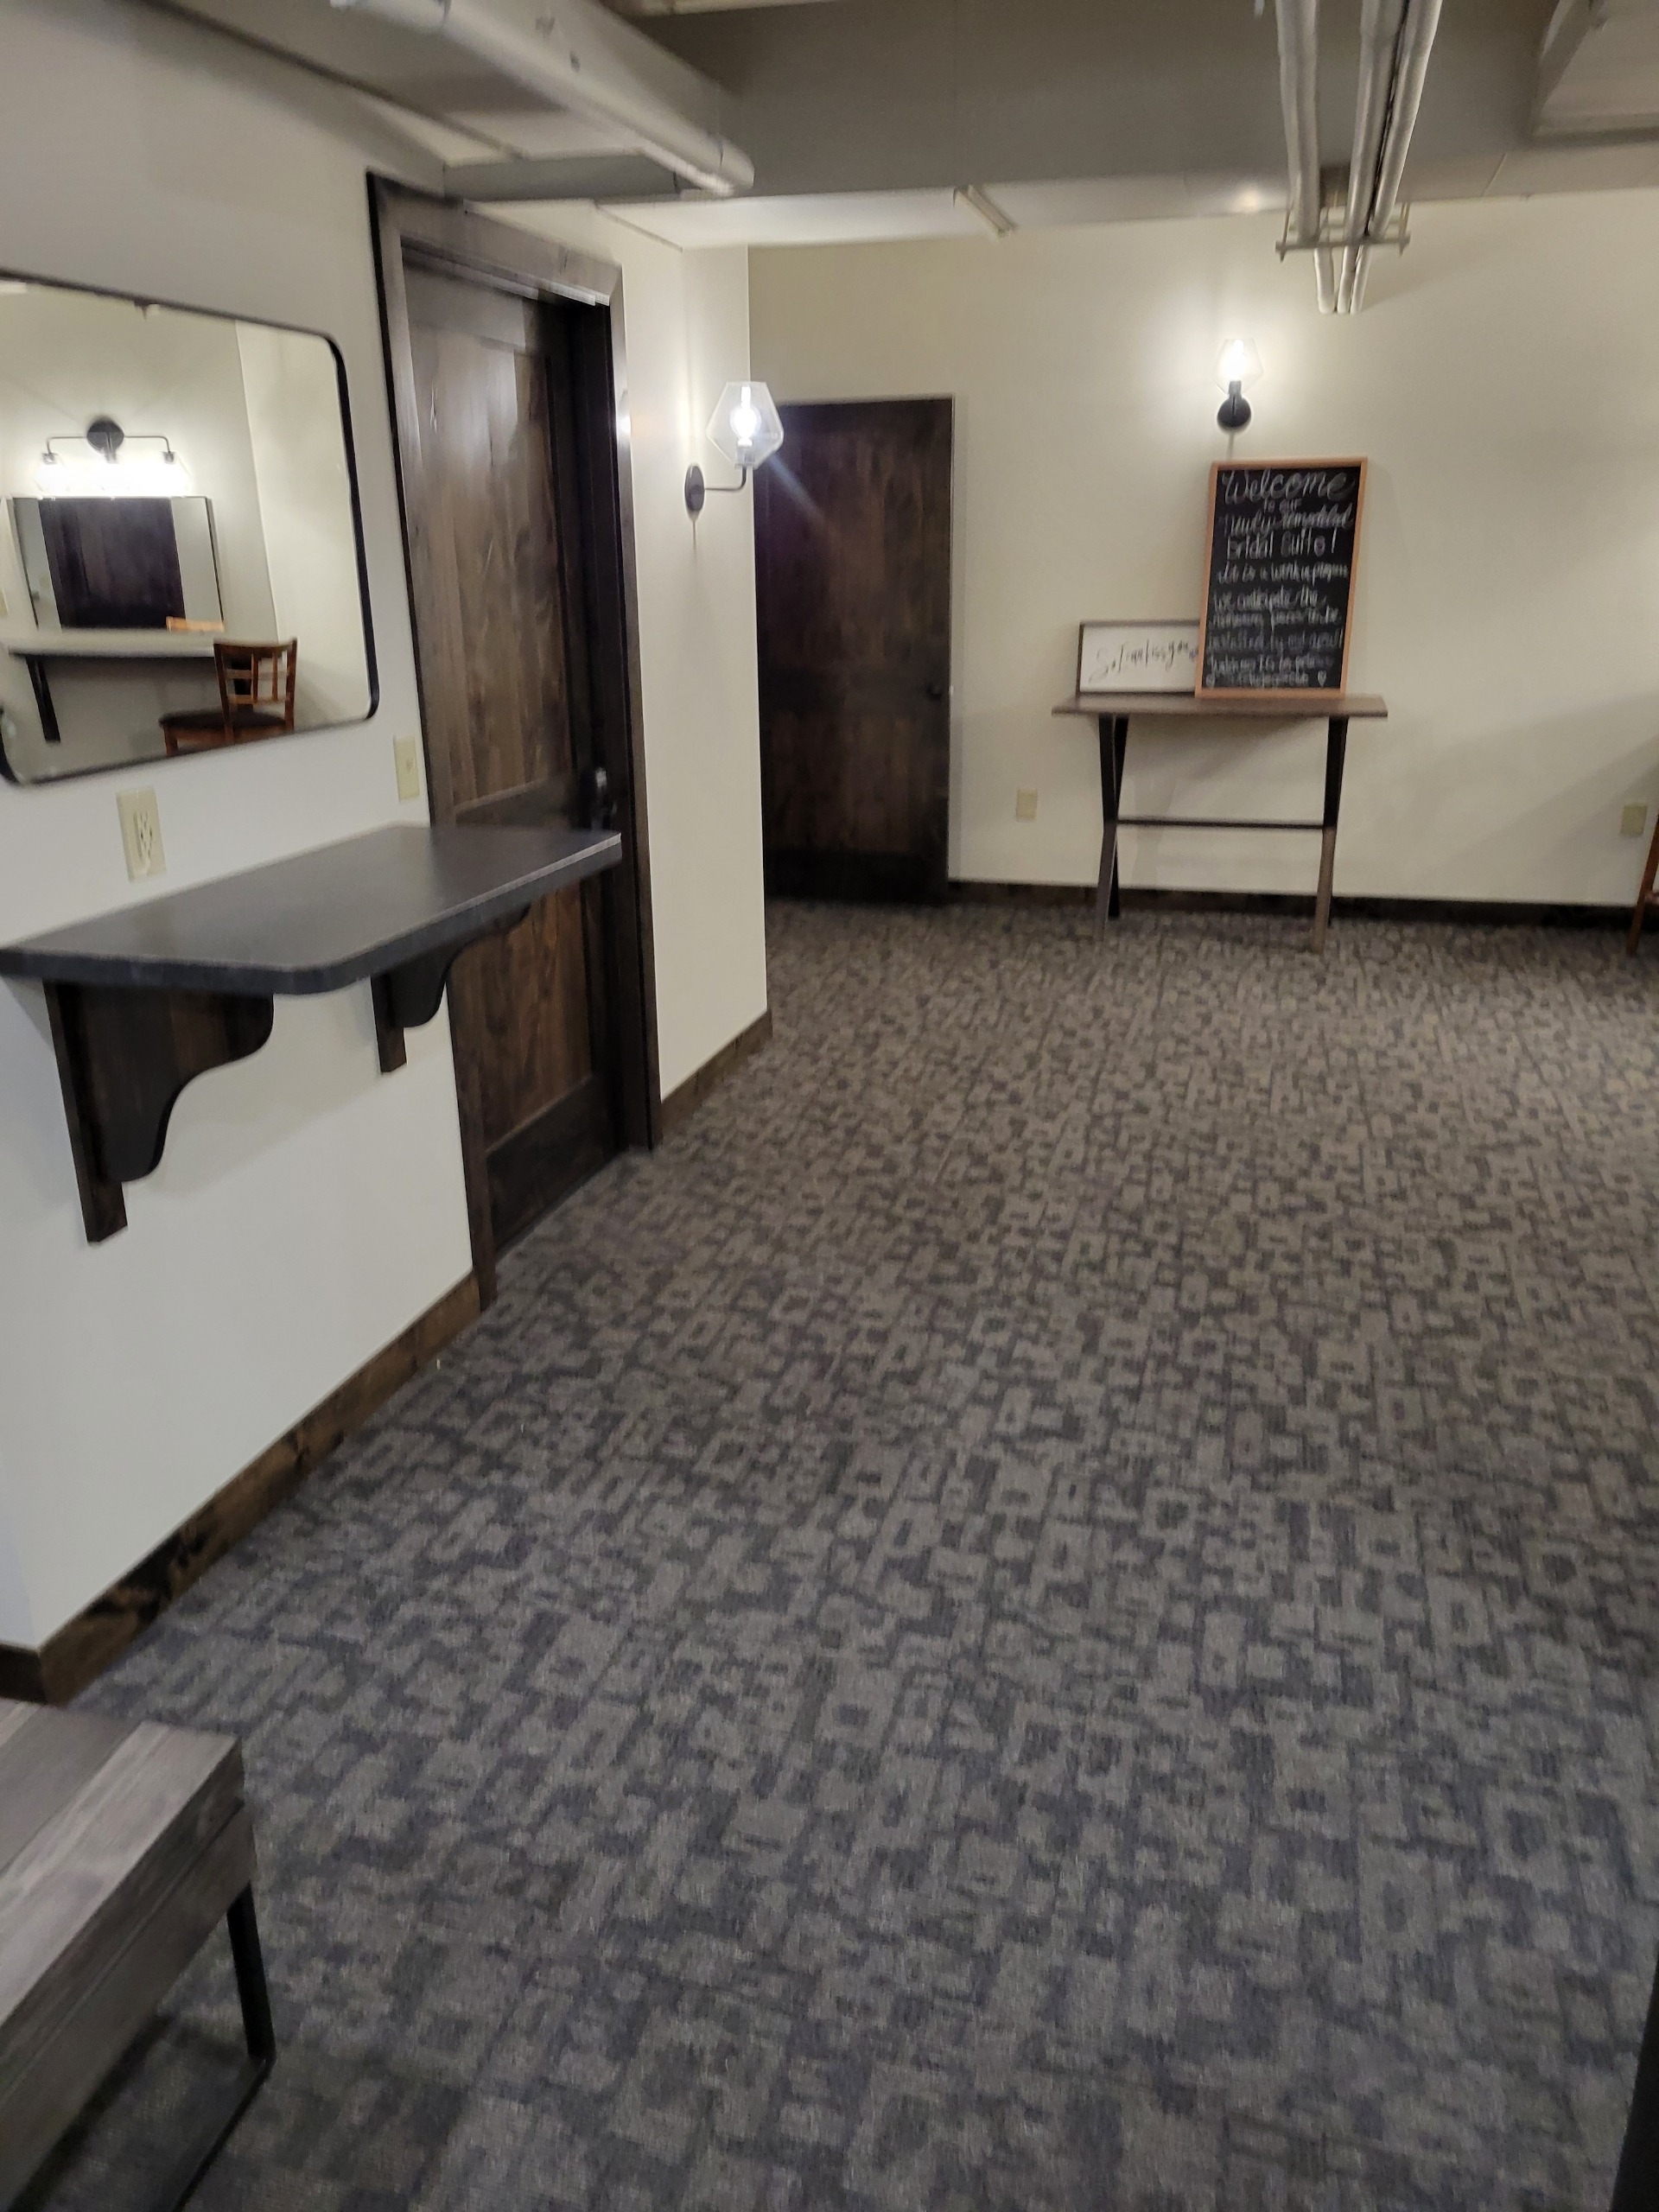
The “after” photos speak for themselves. Our office space now boasts a professional, modern vibe. Employees appreciate the comfort, and clients are impressed by the stylish flooring. Whether you’re considering commercial carpet or LVP, remember that proper floor prep is the secret to achieving superior results.
So, if you’re embarking on an office renovation, invest time in floor preparation—it’s the first step toward a successful transformation!